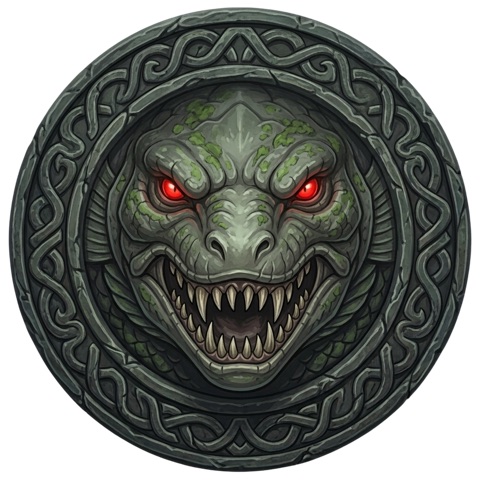
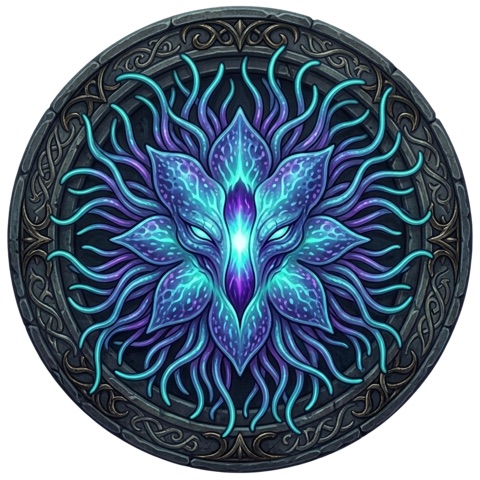
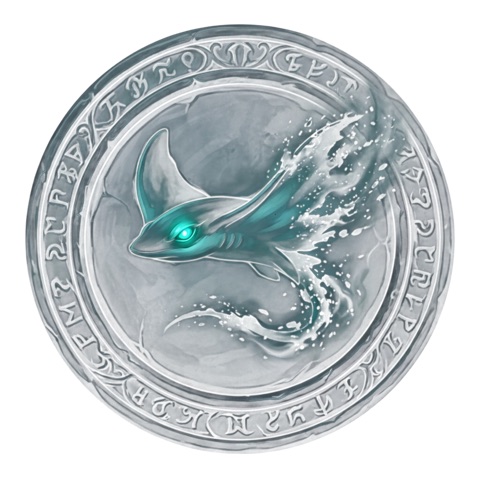
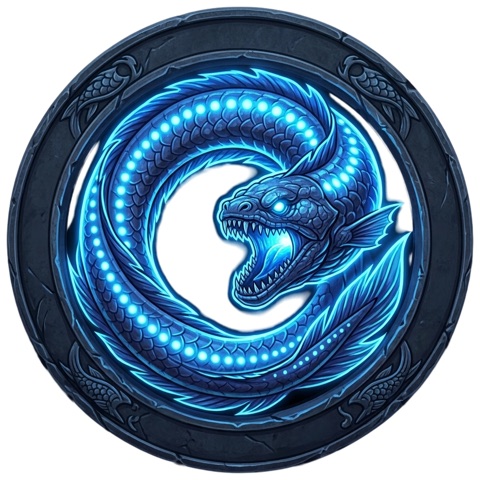
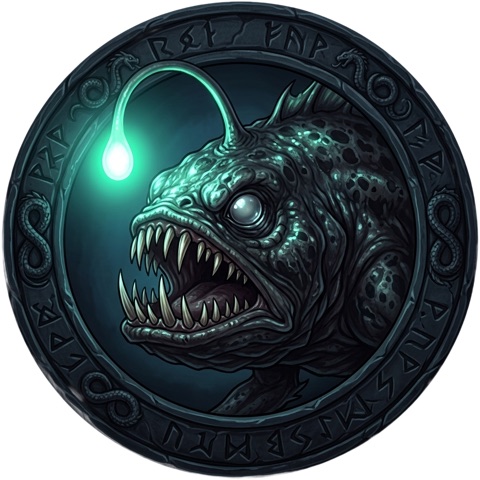
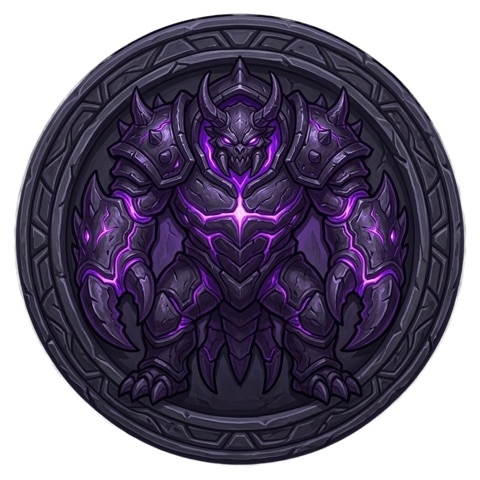
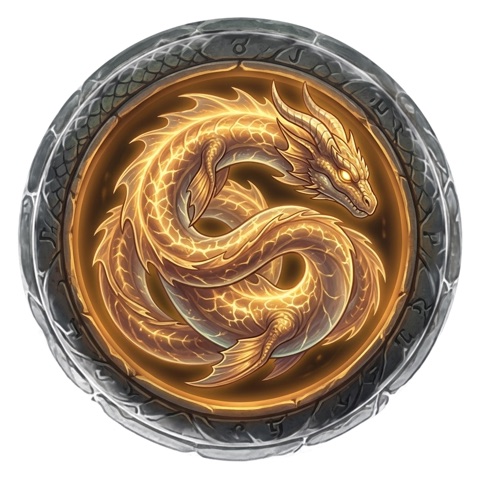
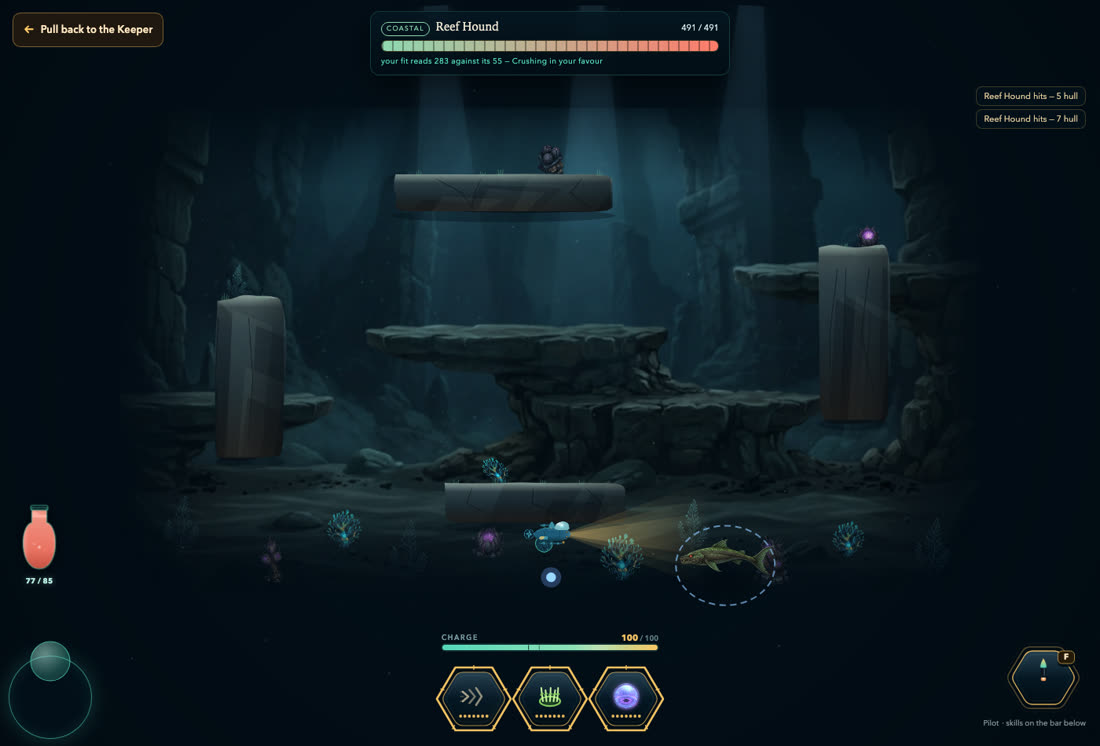
The Beastkeeper’s fight used to be a text list and a handful of CSS gradients standing in for your abilities. It isn’t any more: a drawn pit with its own flora and stone shelves, your real drone flown with the same water-feel glide the ocean uses, the real ability bar fired from the real drone, and eight beasts that each answer back with a named signature attack you can read and dodge. Every beast also has its own page — see Beasts for real HP and telegraph numbers on the whole roster.
01 Reaching the Keeper
The Beastkeeper stands on the Berth dock alongside Quartermaster Bell, Cartographer Wren and Stowmaster Quill — walk up and press T to talk. The arena itself opens as its own full-screen scene, off the dock rather than out in open water, so nothing about the fight competes with the Chart, the Console or anything else running in the background. General Berth mechanics — Bell’s counter, Wren’s passage, Quill’s Warehouse — are covered in The Berth.
02 The summon card — anatomy of a fight
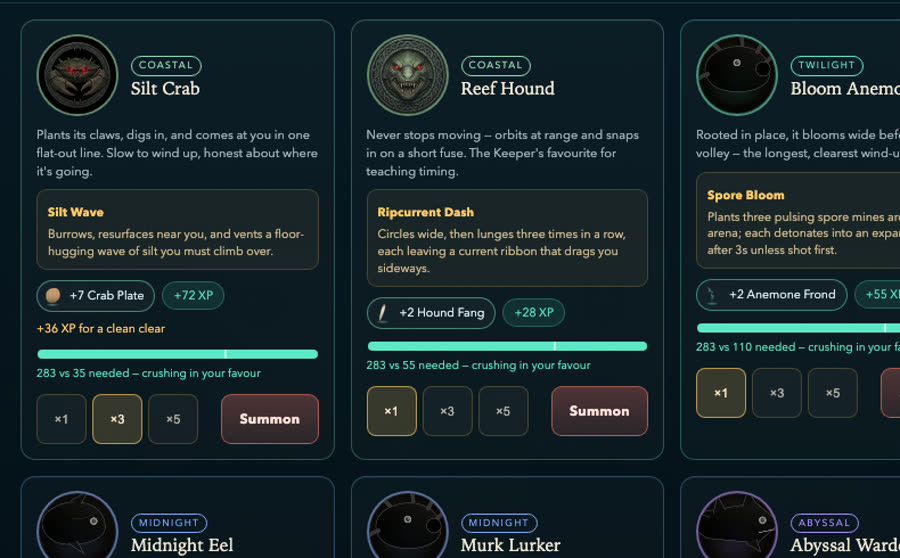
Talking to the Keeper opens the roster as a horizontal card rail — a grid on a wide window, a swipeable row on touch — one card per beast, badge first, gauge before prose. Every card carries the same seven pieces, in the same order:
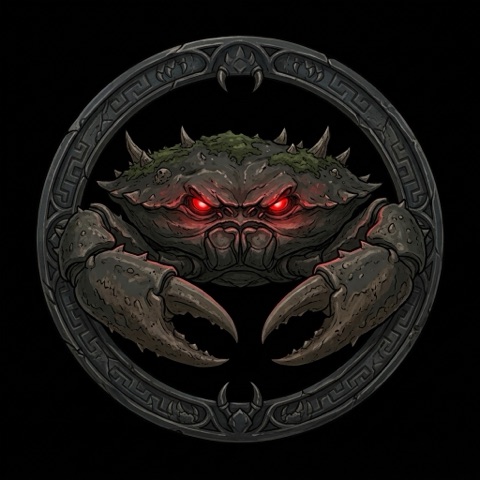
The badge— a circular stone-well portrait, edged in the beast’s own rarity colour. Undiscovered beasts don’t exist on this roster; every row you can see, you can fight.
The tier chip— Coastal, Twilight, Midnight, Abyssal or Leviathan, coloured to match the badge’s edge and every rarity chip elsewhere in the game.
Name and one line of nature— the beast’s name in serif, then a single sentence on how it fights before you’ve even summoned it.
The signature line— the boss’s named attack plus what to watch for, drawn on the card, so the telegraph you’ll actually see in the pit is a promise made up front rather than a surprise. Every signature on the roster is listed in full in §04 below.
Rewards— the exact materials, XP, pearls and (for the top of the roster) a wardrobe drop the kill actually pays, read straight from the beast’s own drop table.
The strength gauge— your drone’s live Drone Rating against the fight’s recommended power, drawn as a bar with a mark at the “recommended” point. Green reads ready, amber reads close, coral reads outmatched — coral marking danger is the one deliberate use of that colour anywhere in Bathysia. For the bottom four beasts the gauge is only ever a warning, never a lock — the Keeper opens the pit on an outmatched fight exactly as readily as a crushing one. From Midnight tier up, four beasts carry a real Drone Rating floor instead: fall short of it and the card seals shut, Summon disabled, until you gear up past it — see §08.
The contract picker and Summon button — ×1, ×3 or ×5 (see §08), then Summon with its own Enter keycap.
The Keeper’s Roster on a wide window — Silt Crab with a ×3 contract picked, showing the summed reward total and its clean-clear bonus line, exactly as the card renders in the shipped build.
03 Piloting with the real thing
Nothing about how you fly or fight in the pit is a separate system from the rest of the water. Movement reads the exact same input axis — WASD, arrows, or the touch stick — driving a water-feel glide: push toward a heading and the drone eases up to speed, release and it coasts out rather than stopping dead, the identical accel/drag curve the open ocean already flies on. The ability bar stays mounted over the pit, same keys, same Charge cell, same cooldown rings, firing through the real Game.activateAbility call every other screen uses.
The fight itself is a read, not a race. Every strike a beast makes — not just its signature — is telegraphed: a thin amber arc sweeps closed around the body over the last half-second of the wind-up, and a charger draws the line it is committing to, so a sidestep is a genuine decision you make on time. Your own aim is drawn too: a faint cone off the drone’s nose marks the full-damage arc (it brightens while you fire), because rockets fly where the drone points — face the target square for full damage. Landed hits shove the beast and stagger it visibly, and you are only ever flashed when something actually connects with your hull. Break line of sight behind the pit’s stonework and a HIDDENchip appears while your hull knits from a finite reserve — but the pit seals the Berth’s own passive repair for the length of the fight, so hiding is the only free healing there is, and the beast hunts your last known position while you take it.
MovementW A S D / arrows / stick
Glide, don’t steer a tank. A held direction pushes the drone up to a top speed and coasts on release — read the water the same way you already do in the open ocean.
Boost SurgeQ · every class
Q is the movement burst on every chassis now — the old separate “turbo” input is retired. Real thrust, a real camera kick, and the dash that clears the drone from an otherwise-landed hit.
Electric Lasso / Algae SnareW · Scout / Salvager
Both land as a real, aimed stun on the boss — reach the tether or the snare’s own range and it locks the target’s attack clock in place. A cast that reaches nothing still throws honestly and says so.
Abyssal BulwarkE · Salvager
The exact same shield dome the ocean already knows, glued to the arena drone — damage reduction flows through the same gate a landed hit already resolves through.
Fire rocketsX
The free bolt, ×1 rocket or a ×5 volley — your call on every tile, same as open water — fired from the drone’s real position along its own facing at the nearest live target.
Prism Beacon · Abyssal MagnetScout / utility kit
These still fire for real — Charge spent, cooldown started — but the pit has nothing hidden to reveal and no loose salvage to sweep. The first press explains why in one line; after that it’s just a toast, never a modal on repeat. The Hauler’s Ballast Oil is a different story: its slick stuns the boss and pauses the attack clock, the same hold Electric Lasso grants.
04 The roster
Eight beasts stand ready today, climbing the same five-tier ladder as everything else in the water. hp below is the base row — a ×3 or ×5 wave contract scales every round after the first up roughly 18% on top of it (see §08).
Coastal
Silt Crab
Plants its claws, digs in, and comes at you in one flat-out line. Slow to wind up, honest about where it's going.
HP1,100
Rec. power35
Silt WaveBurrows underfoot and vents a floor-hugging wave — climb over it or break the line.
+2 Crab Plate · 500 crystals · 1,000 XP
Coastal
Reef Hound
Never stops moving — orbits at range and snaps in on a short fuse. The Keeper's favourite for teaching timing.
HP1,190
Rec. power55
Ripcurrent DashA string of lunges, each leaving a current that drags the drone sideways.
+2 Hound Fang · 450 crystals · 1,500 XP
Twilight
Bloom Anemone
Rooted in place, it blooms wide before every volley — the longest, clearest wind-up in the pit.
HP2,230
Rec. power110
Spore BloomSeeds pulsing mines around the pit — pop them safely before they bloom on their own.
+2 Anemone Frond · 900 crystals · 2,200 XP
Twilight
Twilight Ray
A wider, harder version of the crab's rush — banks the charge off the pit wall if you dodge clean.
HP1,885
Rec. power150
Shadow GlideFades to a shimmer, glides an arc, then reappears mid-charge — watch the shimmer cross your lamp.
+3 Ray Barb · 900 crystals · 2,800 XP
Midnight
Midnight Eel
Tight, fast orbits and a bite that comes back around before you've finished punishing the last one.
HP3,200
Rec. power260
Arc CoilCoils and discharges expanding electric rings — thread the gap between them.
+3 Eel Scale · 1,300 crystals · 3,600 XP
Midnight
Murk Lurker
Sits in the dark at the pit's edge. A long, ugly wind-up buys you the window to punish it hard.
HP4,050
Rec. power300
Ink VeilBlacks out a slice of the arena and hunts you inside its own cloud.
+3 Lurker Ink · 1,350 crystals · 4,500 XP
Abyssal
Abyssal Warden
Built like a wall and hits like one. The Keeper stands well back for this summon.
HP5,300
Rec. power460
Pressure SlamA floor slam — shockwave plus falling debris, each landing spot shadow-telegraphed first.
Young, but already coiling the whole pit into its orbit. Everything the deep water has taught you gets tested here.
HP6,800
Rec. power700
Deep EchoSplits into mirror echoes that swap and reshuffle — only the real one ever takes damage.
+5 Leviathan Marrow, +6 pearls, a wardrobe drop · 2,450 crystals · 8,000 XP
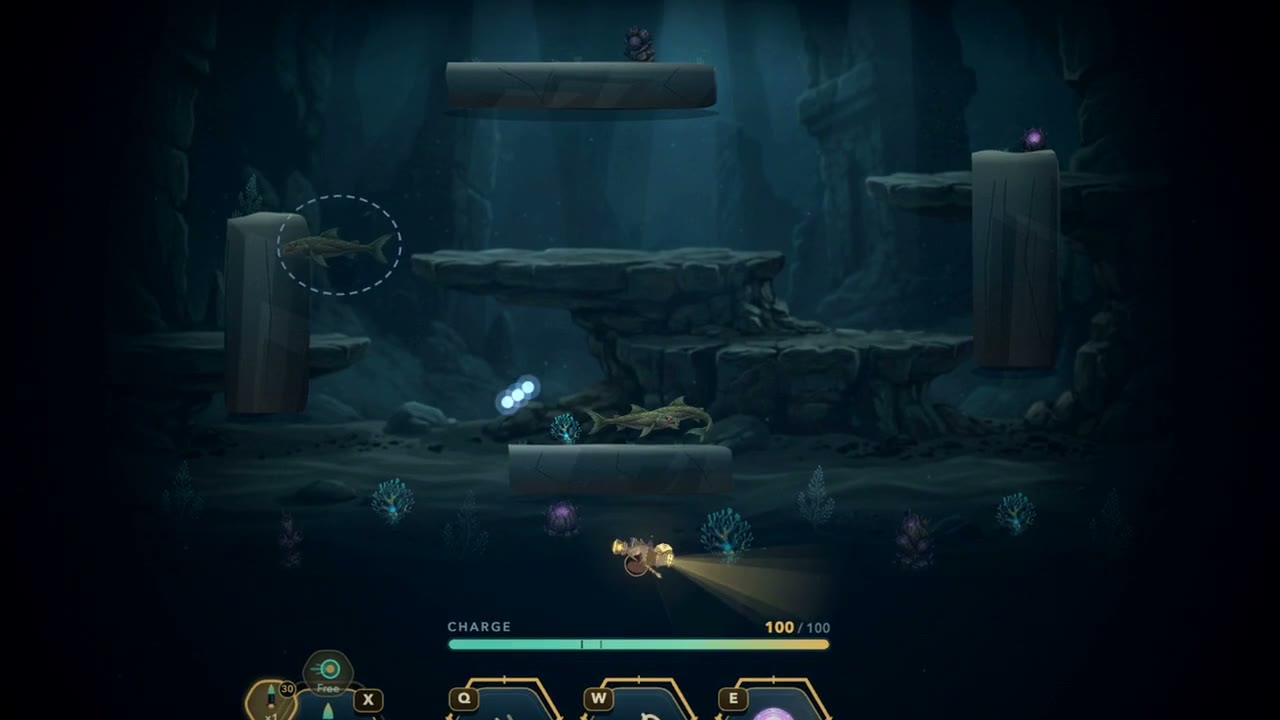
The Reef Hound closing in — Coastal tier’s second boss, its own sheet art circling at range exactly as the roster card above describes.
One signature attack per beast, content-driven and repeatable — the telegraph is the promise: every wind-up is drawn, timed, and dodgeable by reading the water, never an invisible hit.
Fig. 2
Eight signatures, eight tells
Beast
Signature
Timing
Silt Crab
Silt WaveBurrows, resurfaces near you, and vents a floor-hugging wave of silt — climb over it or put a stone shelf between you. Untargetable while burrowed.
~7s cooldown · 1.1s telegraph
Reef Hound
Ripcurrent DashCircles wide, then lunges three times in a row, each lunge leaving a current ribbon that drags the drone sideways for about 2s.
~8s cooldown · 1.0s telegraph
Bloom Anemone
Spore BloomPlants three pulsing spore mines around the arena; each detonates into an expanding ring after 3s unless a rocket or strike pops it safely first.
~10s cooldown · 0.9s telegraph
Twilight Ray
Shadow GlideFades to a barely-visible shimmer, glides a slow arc, then reappears mid-charge — the tell is the shimmer crossing your lamp cone.
~9s cooldown · 1.2s telegraph
Midnight Eel
Arc CoilCoils in place and discharges two expanding electric rings; the safe line is threading between the first ring and the second.
~8s cooldown · 0.9s telegraph
Murk Lurker
Ink VeilSpits a slow ink cloud that blacks out a third of the arena — inside it your lamp radius halves and the Lurker hunts you.
~11s cooldown · 1.3s telegraph
Abyssal Warden
Pressure SlamRises and slams the floor: a radial shockwave ring plus two debris columns falling from the ruin above, each landing spot shadow-telegraphed first.
~9s cooldown · 1.0s telegraph
Leviathan Spawn
Deep EchoSplits into two mirror echoes — only the real one takes damage — and every 8s they cross and reshuffle. Watch which one disturbs the flora as it passes: that's the real tell.
~14s cooldown · 0.9s telegraph
Telegraph length shortens tier by tier — Coastal warns longest, Leviathan Spawn shortest — but never drops below half a second on the shipped roster. Every projectile, zone and mine a signature throws is drawn on screen; nothing in the pit hits from somewhere you can’t see.
A landed signature is built to be felt: every one on the roster costs 15–25% of your hull, scaling up tier by tier — Coastal’s pair land lightest, Leviathan Spawn’s Deep Echo hardest — plus a stun of roughly 0.8 to 1.2 seconds that stills the drone’s own thrusters. It’s a real cost for missing a dodgeable tell, never a hit you couldn’t see coming.
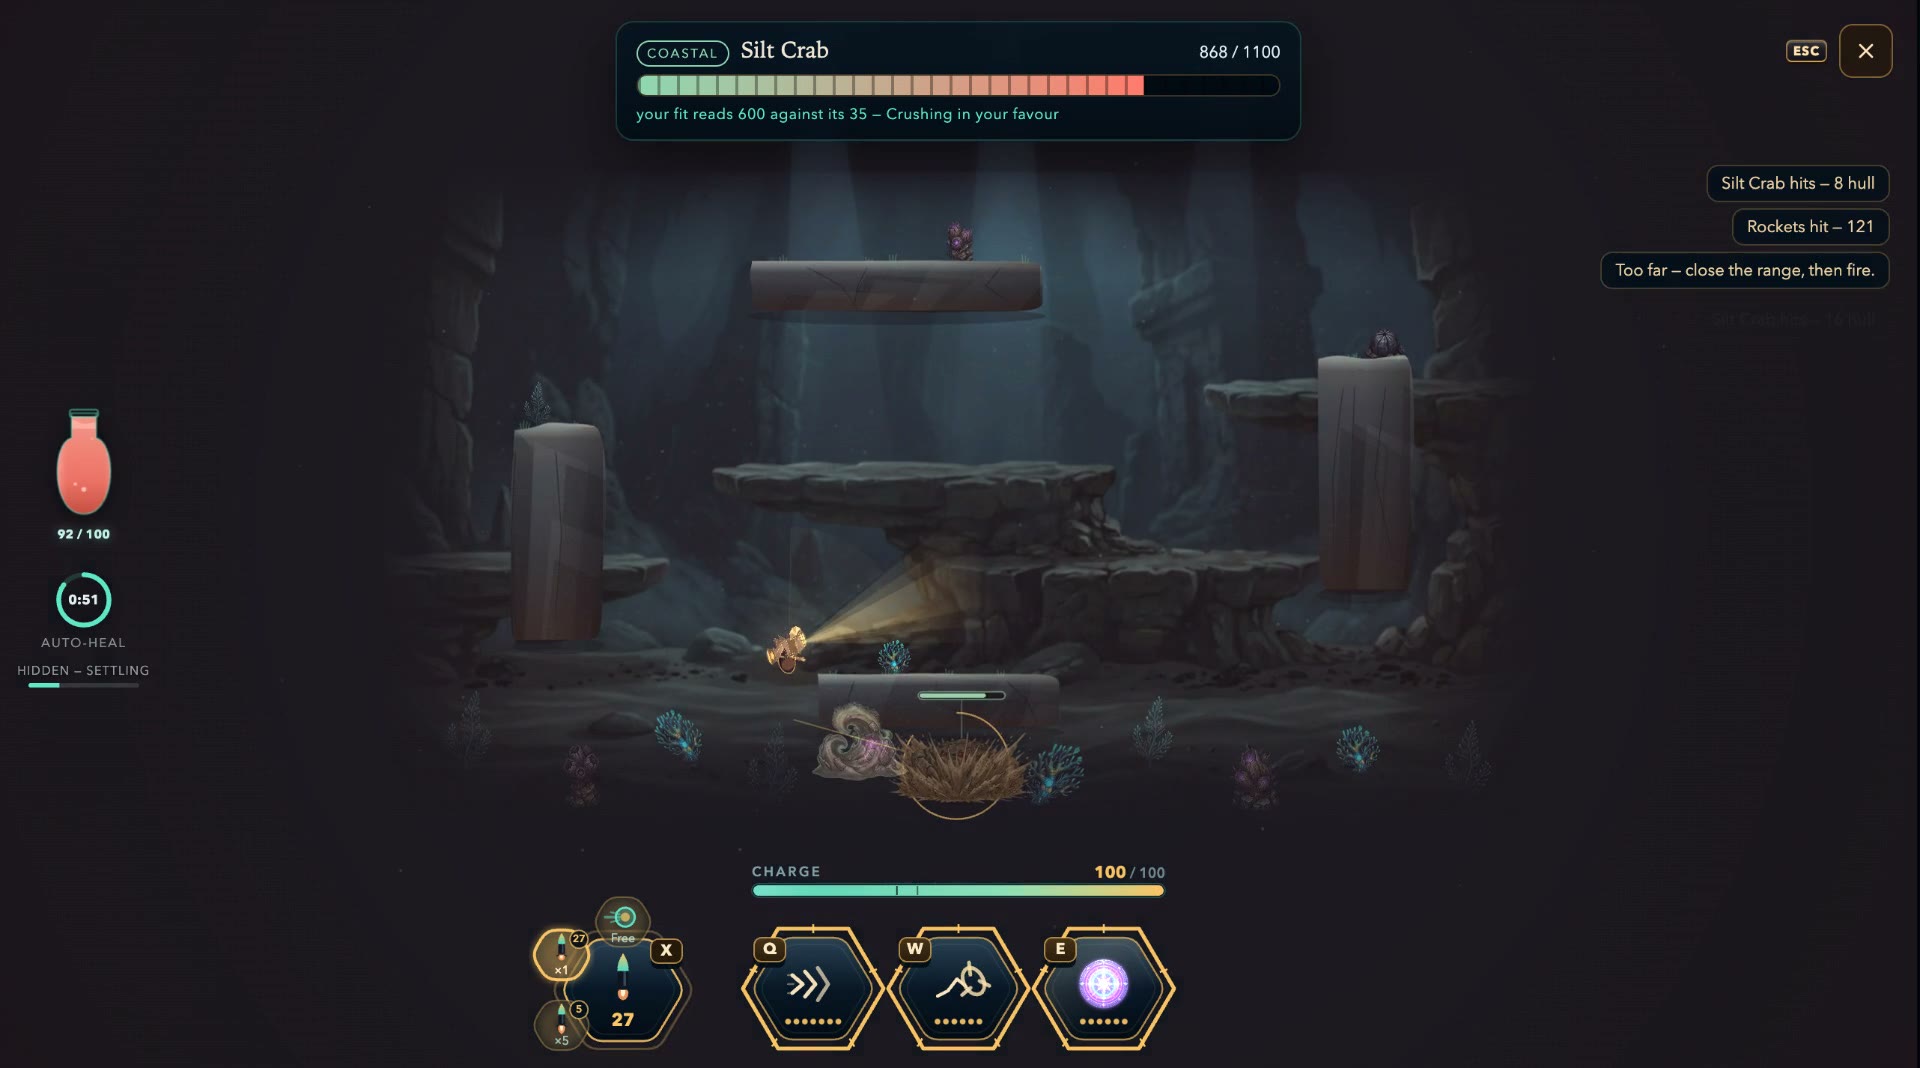
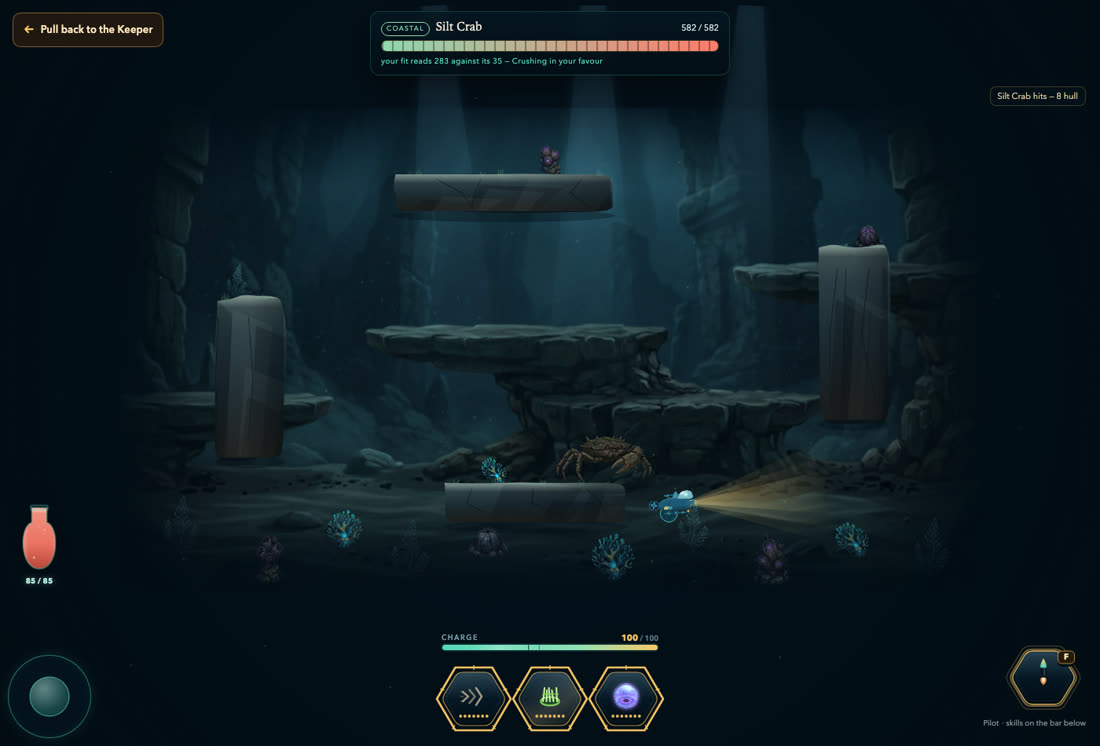
Mid-fight against the Silt Crab — the whole pit fitted into frame at once, no scrolling camera, with the ability bar, hull flask and the honeycomb fire tile all live over the drawn arena, not a separate HUD.
05 Hiding — real recovery, on a budget
Put one of the pit’s own reef walls or ruin blocks squarely between you and the boss and its line of sight breaks. Hold there and, after about 1.8 seconds of staying genuinely out of sight, the hide settles and starts banking real hull back — roughly 7 hp a second, paid straight into the same Hull the rest of the fight already spends against.
The catch
That heal draws on a finite reserve — about 175 hp for the whole fight, not per hide. Spend it and hiding still works as cover — the boss still can’t see or hit you there — it just stops paying out. Leaving cover costs something too: stepping back into the open opens a roughly two-and-a-half-second window where ducking straight back into hiding still breaks line of sight but banks no heal until the window runs out, so peeking out for a hit and diving straight back no longer buys a free top-up. The reserve also has a clock on it: hide-to-heal stops accruing for good once real fight time runs out, whichever limit hits first — 60 seconds against Coastal or Twilight beasts, 120 seconds from Midnight tier up. A fight that runs past its own window can still hide safely, it just banks no more hp doing it.
A boss doesn’t forget you exist, either. It hunts your last-seen spot for about seven seconds; camp the same hiding spot past that and its aim starts sliding off that frozen point toward wherever you actually are, reaching your real position after roughly five seconds more. A real, brief hide — duck, heal, move again well inside the window — is still a clean escape. Refusing to ever move again eventually gets found regardless of the wall between you.
06 Second Wind — the interruptible heal
At roughly 40% of its hull, a boss disengages on its own and channels a visible heal — flavoured to the body: the crab burrows and regens under a glowing sand mound, the anemone folds shut and blooms, the ray dissolves into shadow, the eel coils around itself, the lurker hides in its own ink, the warden kneels with its seams blazing, and a Leviathan Spawn’s echoes merge back into it. The tell is unmissable: an amber glow pulses around the boss and a bar reading SECOND WIND — BREAK IT fills in above it. Left alone for the full ~4 seconds, it claws back up to 30% of its max hull.
How to break it
Land a burst of damage — roughly 5% of the boss’s max hull inflicted while the bar is up — or land a stun with Electric Lasso or Algae Snare, and the channel cancels outright. A stun works instantly, no burst required. Either way the boss is left staggered for a beat afterward — the reward for reading the interrupt.
Coastal and Twilight beasts only ever channel once, near that 40% midpoint. Midnight tier and above get a second chance, later in the fight around 15% hull — and never more than that, so no fight can loop forever. On a ×3 or ×5 contract, only the lead beast in the pack ever channels.
07 Honest defeat
Hull empties and the fight ends the same way every hazard in the water already does: pulled back to the Berth, the contract void, nothing lost. No repair bill, no confiscated drops — whatever a beast had already dropped earlier in a wave stays credited. The defeat card names exactly what finished you — the signature that landed, or the beast “in close” on a plain body hit — so the loss actually teaches something before you summon again.
Walking away mid-fight costs the same nothing: press Esc to pull back to the Keeper any time, and the card reads plainly — “Nothing lost, nothing earned. The Keeper will still be here.”
08 Contracts and the tier ladder
Every card offers ×1, ×3 or ×5 — a wave contract puts the full pack in the water at once as an echo formation, each round escalated roughly 18% harder in hp and damage over the base row. Clear every round without your hull ever emptying and the payout carries a no-recovery bonus on top — extra pearls; XP and materials unscaled. Only the lead beast in a pack ever throws its signature or channels Second Wind; the rest fight with contact hits alone.
Boss stats are fixed per tier — nothing in the pit scales up or down to match your own fit. At matched-tier gear and real skill use, a beast is beatable; a tier below your own gear it’s hard; two tiers below, effectively out of reach. For the roster’s bottom half — both Coastal beasts and both Twilight — recommended power only ever gates the summon card’s strength gauge, never the summon itself. From Midnight tier up, it’s a real lock: Midnight Eel requires Drone Rating 150, Murk Lurker 260, Abyssal Warden 300 and Leviathan Spawn 460 — fall short and the card seals over with exactly that number, Summon disabled until you gear up to it. A fully-evolved, well-levelled drone still beats everything on the roster, and nothing here is unwinnable at the top of the ladder — the gate only ever keeps a badly undergeared pilot from a fight they had no chance in anyway.
Rocket fire can land a critical hit here, the same fortune roll every other lucky find in the game reads off your luck stat: a flat 2% base chance, plus up to another 10 percentage points from luck, capping out at a 12% crit chance for a maxed-luck pilot. A landed crit triples that rocket’s damage — the gold burst is the tell. The free bolt crits too, at its own honest 1.5×: half a rocket’s damage, tripled, never borrowing the real rocket’s full premium. See The Bay for exactly how luck is earned.
Fights run longer the deeper the tier, on purpose — a solo Coastal beast is a sharp scrap at matched gear, a Leviathan Spawn a real endurance fight built around multiple Second Wind cycles: roughly 45 seconds at Coastal, 75 at Twilight, two minutes at Midnight, two and a half at Abyssal, and two and a half to three minutes for a Leviathan Spawn. The curve is measured, not eyeballed — a simulated fight against matched-tier gear is recorded in the engine’s own test suite, so a content edit that pushes a beast’s numbers off its tier’s band fails a test before it ever ships.
Each contract tier is also a weekly resource, not an unlimited grind. It is the killing blow that finishes the whole contract — the last round on a ×3 or ×5, the only round on a ×1 — that actually clears it; a defeat or a walked-away fight spends nothing, so a rough attempt never costs you a shot at the same tier later the same week. The instant a tier clears, its button on the summon card locks and reads “Unlocks Monday”; clear all three on one beast and the whole card carries its own “Cleared this week — unlocks Monday” stamp in place of the three separate locks. Everything on every card reopens together at Monday 00:00 in your own local time — not a rolling week from your last clear, the same Monday the whole roster shares.
The reward line on a card is the full contract’s payout, not a single kill’s — on a ×3 or ×5, every round’s material and pearl drops escalate the same ~18% its hp and damage do, and the card sums them across every round into the one total shown before you summon. XP is the exception: a contract pays its beast’s flat XP once on the clear, the same figure whether you took the ×1 or the ×5 — and a mid-wave defeat pays no XP at all, exactly like the crystal purse. The no-recovery bonus stays honestly separate, printed as its own line under that total: it only ever appears on a ×3 or ×5, and only pays out if your hull never once empties across the whole contract.
Every hit in the pit comes from one of three modes on the same fire tile the siege console shares. Normal is the free bolt — a ranged shot at base damage that costs nothing and aims off the drone’s own facing, exactly like a rocket. Rockets, fired ×1 or as a ×5 volley, hit for twice the bolt’s damage and draw down the same drum the open ocean uses. Win the fight and half of whatever rockets you actually spent that fight, rounded up in your favour, land straight back in the drum — the summon card says so up front, and the payout card shows the returned count in the same rocket art the tile fires.
Crystals ride the whole contract, not the kill: each beast’s ×1 figure (Fig. 1) is exactly doubled on a ×3 and exactly quadrupled on a ×5, and it pays out only on the contract’s own killing blow — the last round on a ×3/×5, the only round on a ×1. A mid-wave defeat forfeits that contract’s crystals entirely, even though whatever materials, XP and pearls earlier rounds already banked stay credited regardless — the same honest split §07 describes for a full loss, crystals included.